Potatoes are one of the most popular vegetables around the world, but most of us haven't tried one that's fresh from the ground. Aside from their large yields and ability to be stored long-term in a basement or pantry, the flavor of a freshly harvested potato is reason enough to try growing them.
This guide offers step-by-step instructions for growing potatoes from seed potatoes-- not to be confused with potato seeds-- as well as when to grow them, growing tips for containers, and how to harvest and cure them for long-term storage.
Skip Ahead: Varieties • When to plant • Chitting potatoes • Planting potatoes • Growing potatoes • Plant care • Containers • Harvesting
When to plant potatoes
In most zones, the best time to plant potatoes is 2-4 weeks before the last frost, or as soon as the soil is workable and the risk of a hard frost has passed. The soil should be loose and not too wet or claggy; planting potatoes into very wet soil can cause them to rot before the plants become established.
In more southern zones, some growers can plant potatoes in August or September for a winter crop. In the far south, growers can start their potatoes as late as February or March for a late spring harvest.
Potato varieties
When buying seed potatoes, consider whether you have the space to grow larger maincrop varieties, whether you're interested in storing the potatoes into the winter, or whether you need to grow a smaller variety in a container. Whichever applies, you'll have a multitude of varieties to choose from.
Here are a few popular potato varieties for different needs:
- Storage potatoes: A good storage potato will have a thick skin and typically take over 100 days to harvest, as it's best to let the plant completely mature and die back before digging. A few popular options are Yukon Golds, Kennebec, and German Butterballs.
- Potatoes for container gardening: Red Pontiacs are small red potatoes that only need about 8" spacing per plant, while Russet Norkotah produces larger 6-8" potatoes on similarly compact plants.
- New potatoes: Also referred to as early season potatoes, these varieties offer tender young tubers with rich flavors that you won't find in any grocery store. Early-maturing varieties often produce smaller plants and can also be well suited for container and small-space gardening. Russet Norkotah is a larger variety of white potato that can be enjoyed about 85 days after planting (or grown on and kept for storage). Rio Grande Russet are another quick-growing white potato that'll be ready for harvest in just 59-65 days. And for gold potatoes, Red Luna is a good option; give them 68 days to harvest and expect small, 2-3" spuds.
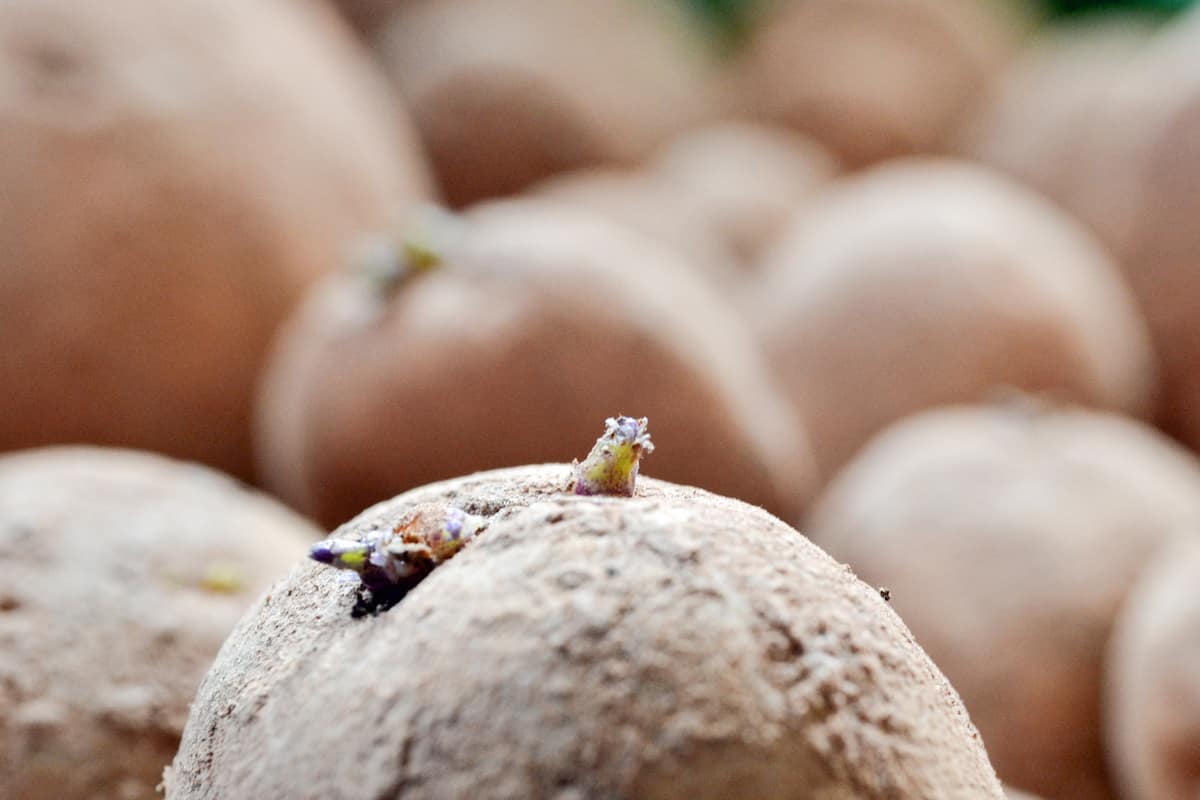
Chitting potatoes
'Chitting' potatoes refers to the process of allowing your seed potatoes to sprout before planting. Similar to starting seeds indoors, it allows the gardener to get a head start on the growing season while the soil is still warming up.
To chit potatoes, set them in a cool but sunny spot for 3-4 weeks. Ensuring that the seed potatoes get enough light will allow them to grow sturdy, healthy 'eyes' (sprouts).
Grocery store potatoes are often chemically treated to prevent them from sprouting. Ordering from a seed catalogue or shopping at a local nursery will ensure you're getting disease-free seed potatoes, often with eyes already developing.
Get 9 Free Companion Planting Charts
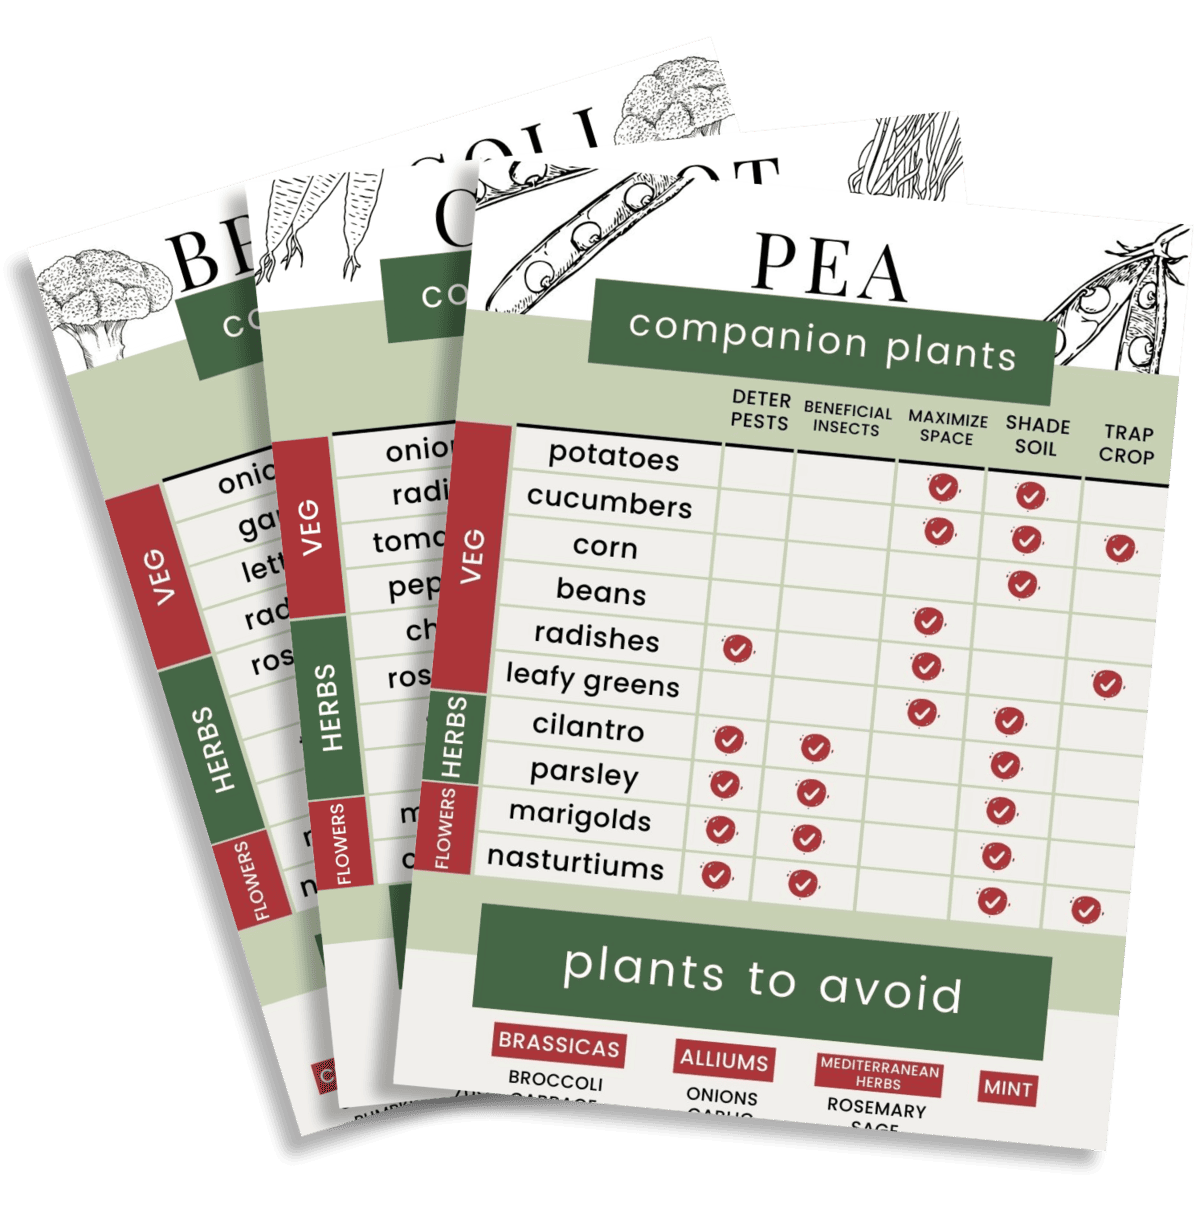
All of the companion planting on Make it Seasonal, consolidated into handy PDFs that you can save to your phone.
Click through to access the whole collection
Planting potatoes
Whether you're planting maincrop potatoes or early-maturing varieties, here's how to plant potatoes into raised beds, containers, or rows:
- Prepare the soil so that it's loosened up to about 6-8". Remove any rocks and break up large clumps of soil to ensure that the potatoes can grow freely.
- Amend the soil with organic compost or well composted manure. This will improve the soil texture and water retention, as well as give the potato plants access to nutrients.
- Space the seed potatoes 9-15" apart in rows 2-3' apart, or give them each at least one square foot of space if growing in raised beds. Maincrop varieties and potatoes grown for storage need 12-15", while new potatoes and small varieties can grow spaced 9" apart. The closer the seed potatoes are planted, the smaller the tubers will grow.
- Plant the seed potatoes 6" deep, with the eyes facing up. If you're growing potatoes in rows, space the rows 12-15" apart. Maincrop potatoes need more space, while early-maturing varieties can grow closer together.
- Cover the potatoes with 4-5" of soil and mark the rows. This can be done with either a label or a potato companion plant that will grow quickly and be ready to harvest before the potato plants start to bush up.
Because potatoes are tubers-- not roots-- they'll grow up toward the soil line as they mature, instead of deeper into the ground. This makes them well suited for no-dig planting, which allows gardeners to slowly improve the soil without tilling it and damaging its existing structure.
If you want to plant potatoes in a no-dig bed, prepare the planting site with two to three layers of cardboard, overlapping them so that weeds have a harder time growing through the cracks. Cover the cardboard in 6-8" of a store-bought planting mix or your own DIY mix of compost and soil. Plant the potatoes in rows as usual, and occasionally hill them up with either more compost and soil or a layer of straw.
Potato plant care
When you choose a planting location, potatoes have a few growing requirements to keep in mind:
- Full sun: Potatoes need at least six hours of sun daily and will benefit from even more.
- Loose, rich soil: Potatoes like a nutrient-rich soil that's free of large clumps of clay or rocks. When preparing a new in-ground bed for potatoes, it's worth taking the extra time to break up any large chunks of clay, remove rocks or roots, and mix in a generous amount of compost or well composted manure. Because potatoes need plenty of water as they start to become established, it typically isn't necessary to add any material for drainage as long as the soil has been well tilled and amended.
- Watering: Potatoes like consistent moisture, but they can rot if overwatered. As the tubers start to grow into bushy plants, give them just a couple of inches of water weekly. Continue watering the plants regularly-- ideally in the mornings-- being sure to thoroughly soak them each time and allowing the top of the soil to dry between waterings. After flowering, the plants start to put more energy into developing the tubers. At this stage, underwatering can cause the spuds to split and become misshapen. Stop watering your potato plants when the leaves start to turn yellow and die.
If you're planting potatoes into raised beds or containers, use a standard planting mix with some added compost or composted manure. Growing potatoes in the ground requires more effort, especially in clay soils that need to be tilled or loosened with a broadfork before sowing. For very heavy soils, add a generous amount of compost or composted manure. This will help to gradually improve soil structure and ensure that the tubers can grow unimpeded.
Growing potatoes
As your potatoes start to produce bushy foliage and the days start to lengthen, the plants will need regular attention in the form of watering and hilling. Here's what that looks like:
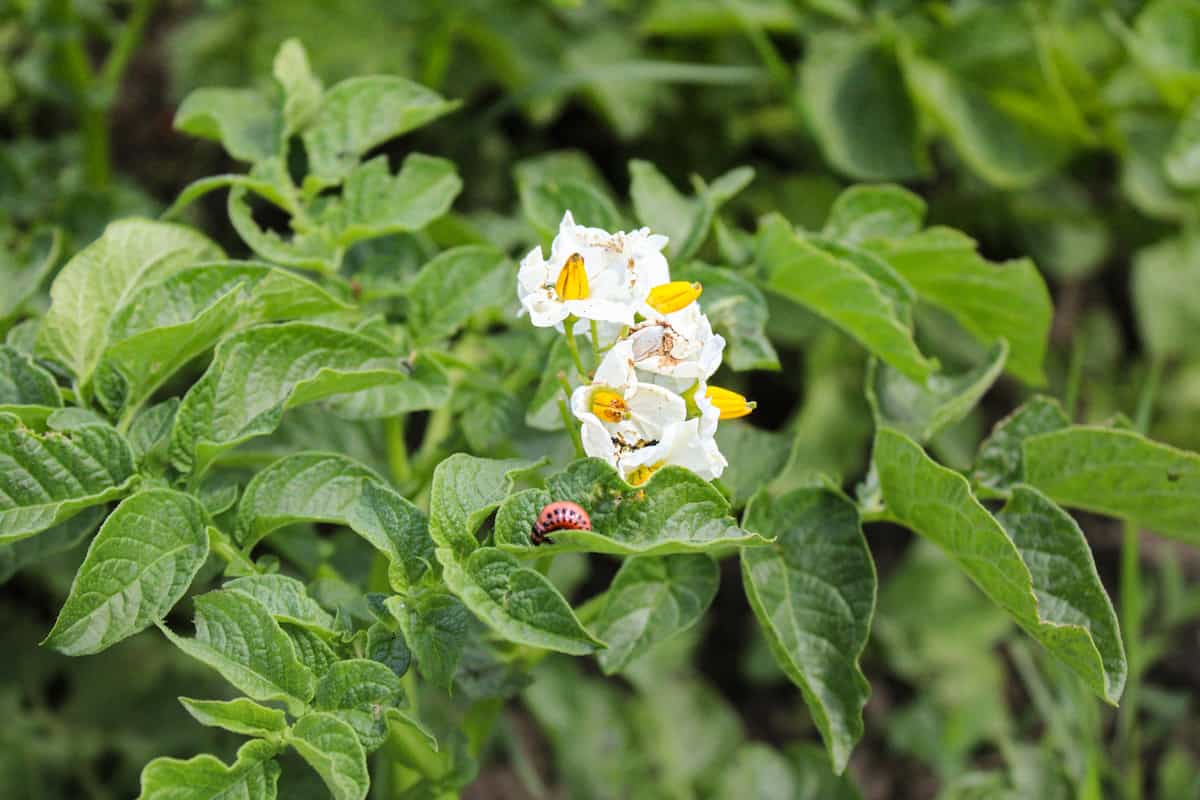
- Hill up the potatoes with soil, mulch, or straw as the plants grow to ensure that the developing tubers aren't exposed to the sun. Sun-exposed potatoes turn green, bitter, and toxic.
- Water weekly to encourage the growth of healthy new shoots.
- Cover with a cloche or floating row cover if there is a risk of hard frost. Potato plants can withstand a mild frost, but a hard frost early in their development can kill them.
- Pinch out the flowers to encourage the plant to put more energy into developing larger tubers, instead of into developing seeds.
- Water consistently once flowers appear. At this stage, the plants will start putting more energy into producing large tubers and will need more water. This is especially important for potatoes grown in containers.
- Stop watering once the foliage starts to turn yellow and die back. This means it's almost time to harvest.
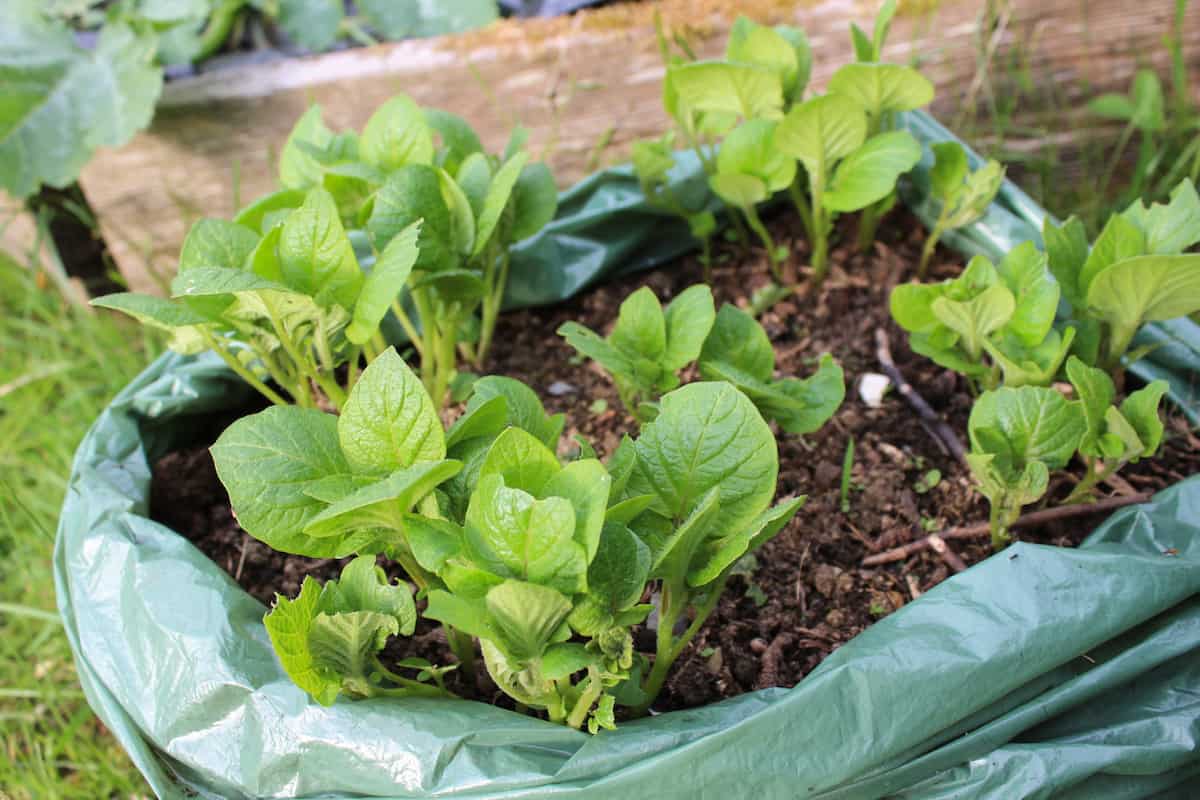
How to grow potatoes in containers
Smaller potato varieties grow well in containers like large pots, grow bags, and buckets. While this approach is great for gardeners with limited space or heavy clay soil, it isn't ideal for growing potatoes for storage. Still, it's a great way to grow early maturing varieties for a small midsummer harvest.
- Choose a 10-15 gallon container or 2-3" deep pot. Potatoes need plenty of space and a hefty amount of soil to feed them and protect them from the sun. Large pots or purpose-made grow bags are ideal.
- Ensure the container has good drainage. Whether you're using felt grow bags, opaque pots, a repurposed bucket, or even a trash can, adequate drainage will ensure that you can water the potatoes thoroughly without having to worry about root rot.
- Place the container in full sun. Potato plants require at least six hours of sun daily.
- Add 4-5" of soil. Homemade compost, store-bought compost, or composted manure mixed 50/50 with a standard raised bed mix is ideal.
- Place the seed potatoes 12" apart, with the eyes facing up, and cover them with just one to two inches of soil.
- Water regularly and deeply, ensuring that the plants get a thorough soaking each time you water them. Potatoes planted into plastic pots may need less water and/or more drainage in the soil mix, while potatoes planted into grow bags may dry out more quickly.
- Hill the potatoes once spuds start to peak above the soil. Cover the tubers with just an inch or two of soil. You'll need to do this a few times through the growing season.
- Fertilize the potatoes if needed. Because potatoes grown in containers will need more watering, their soil will lose more nutrients to run-off. If you start noticing signs of a nutrient deficiency, top off the soil with homemade compost tea, comfrey or manure tea, or an organic 5-10-10 (low nitrogen) fertilizer.
- Pinch out the flowers once they appear. This will prevent the plant from putting energy into developing fruit (seeds) and encourage it to put that energy toward growing larger tubers.
- Harvest the potatoes once the leaves have started to turn yellow and die back. Alternatively, you can begin to harvest smaller potatoes as needed once the plant has produced flowers.
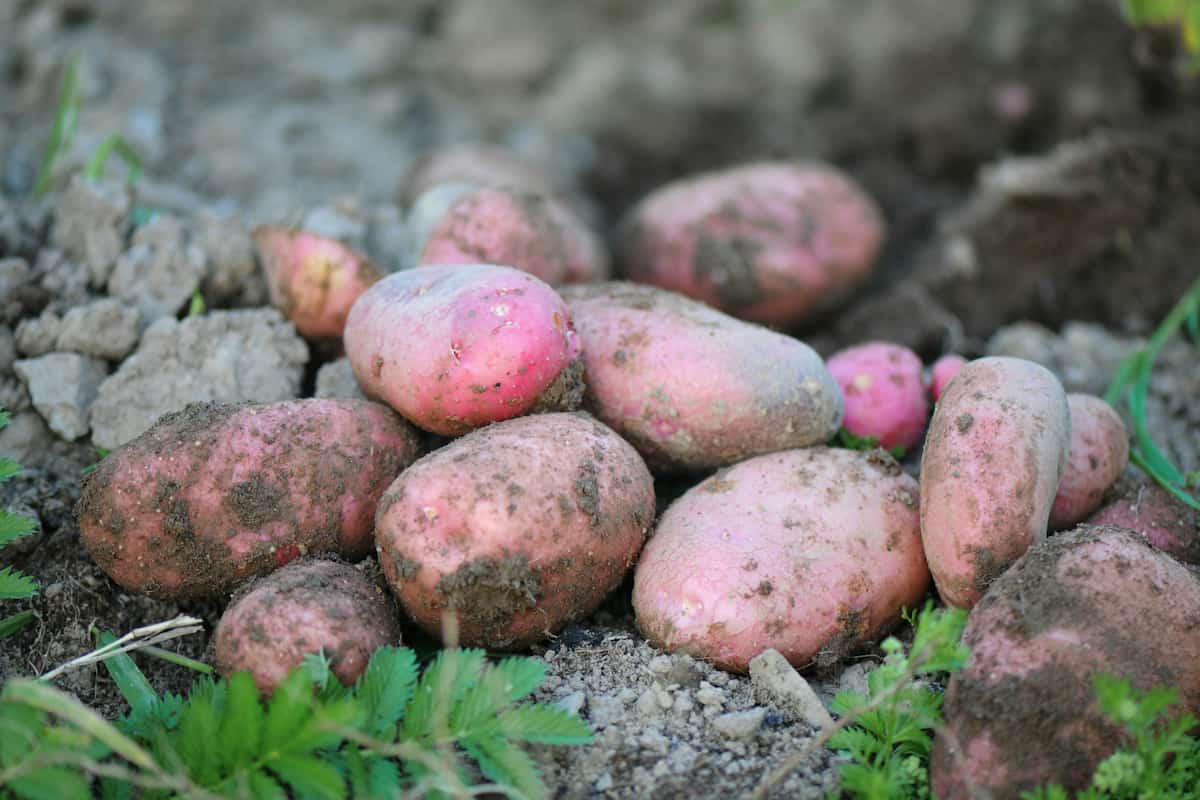
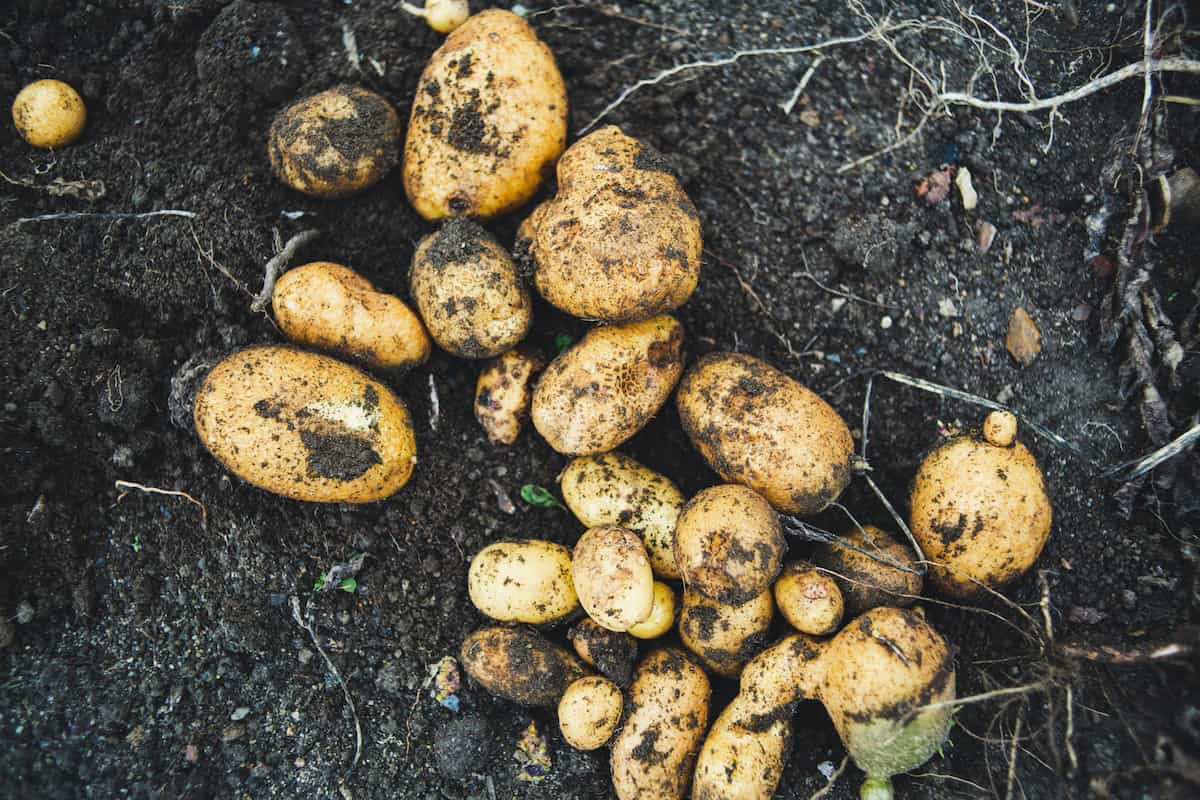
Harvesting potatoes
If you're growing potatoes for storage, harvest the spuds once the leaves start to die back. Though you can harvest potatoes any time after the plants set flowers, waiting until the foliage dies will give the plant time to grow a larger harvest. Alternatively, you can harvest smaller potatoes as needed after pinching back the first flowers.
To harvest potatoes without damaging them, it's best to get your hands in the dirt. Driving a spade or fork into the soil inevitably slices through some tubers. Instead, simply pull the plant up by its stem and run your hands through the soil like a sieve to find any smaller spuds that didn't come up. Give care to this step; it's surprisingly easy to miss even large potatoes in the ground, and any tubers leftover will sprout next year.
Discard any green potatoes; these were overexposed to the sun and are actually toxic. Spuds with green shoulders can be salvaged by just cutting off any visibly green areas.
To cure potatoes for storage, gently rub most of the soil off of them and set them out in a cool, dark place. Don't wash the potatoes at this stage; they'll actually store longer if you wait to wash them until you're ready to use them. Once the skin has cured-- usually after one or two days-- store the potatoes in a cool, dark place or, for shorter-term storage, in the crisper of your fridge.