Chives are herbs in the allium family, offering a garlic- or onion-like flavor and beautiful, small blooms in the early summer. They're some of the easiest herbs to grow, whether you're keeping them in pots, raised beds, or in the ground. Chives will even grow as perennials down to zones 3 or 4, depending on the variety.
Many gardeners grow chives as ornamental herbs, planting them from starts purchased at a nursery. But it's cheap and simple to grow chives from seed, and those seedlings will grow into plants that will continue to provide tasty leaves for years to come. Read on for everything you need to know about sowing and planting chives, from choosing a variety to harvesting and storing the leaves.
Skip Ahead: When to plant • Types of chives • Planting • Growing • Spacing • Plant care • Harvesting • Storing • Companion Plants • Pests • FAQ
When to plant chives
The best time to plant chives is in the early spring, as soon as the soil has warmed and temperatures are consistently above freezing. Planting chives very early in spring gives them time to grow healthy roots, which will make it easier for them to find water as the heat of summer sets in.
Chives can also be planted in the fall, giving them enough time to establish roots before going dormant for the winter. If you're growing a fall stand of chives, sow them directly.
- Sowing directly: Sow chives outside 4-6 weeks before your average last frost date or up to two months before your average first frost date in the fall
- Sowing indoors: Sow indoors 6-8 weeks before your average last frost date
Chives purchased as starts can be planted as soon as the soil has thawed in the spring and the worst of the frosts have passed, or in very early fall.

Types of chives
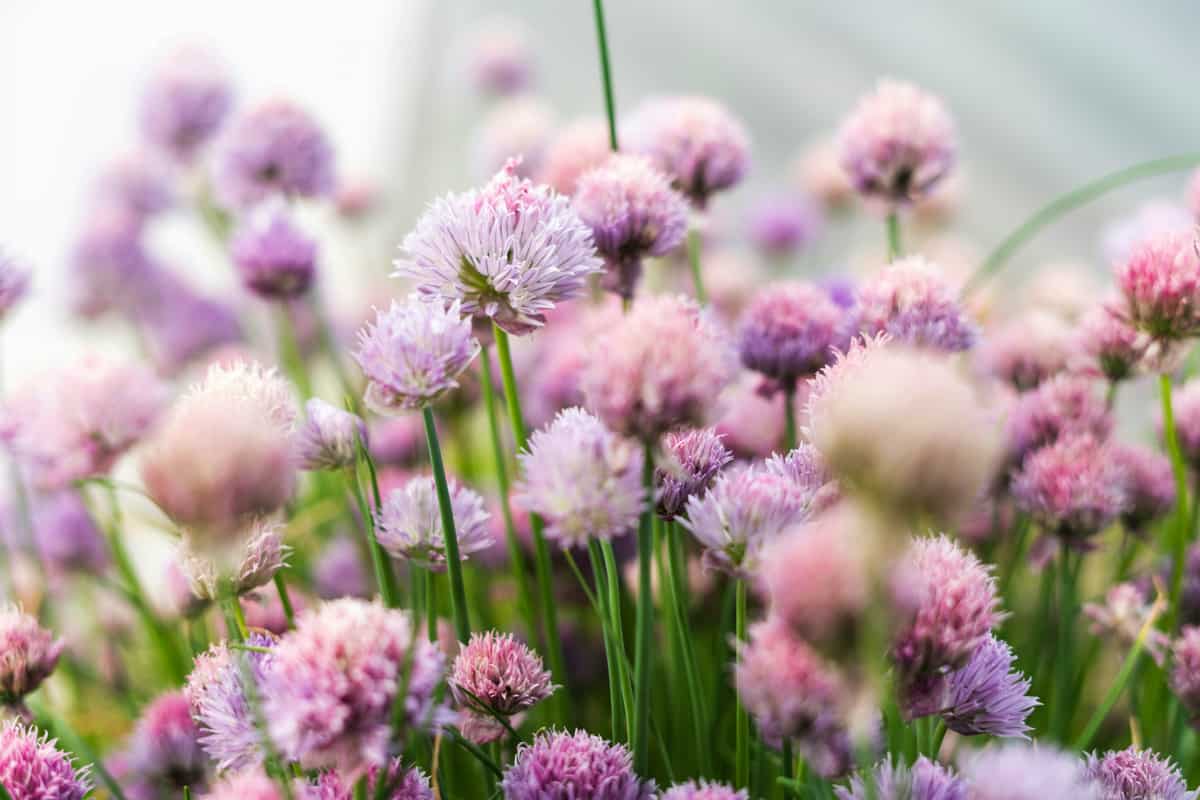
There are two types of chives: onion chives (Allium schoenoprasum) and garlic chives (Allium tuberosum). They grow in similar conditions, and both can grow as perennials in colder hardiness zones. Here are the main differences:
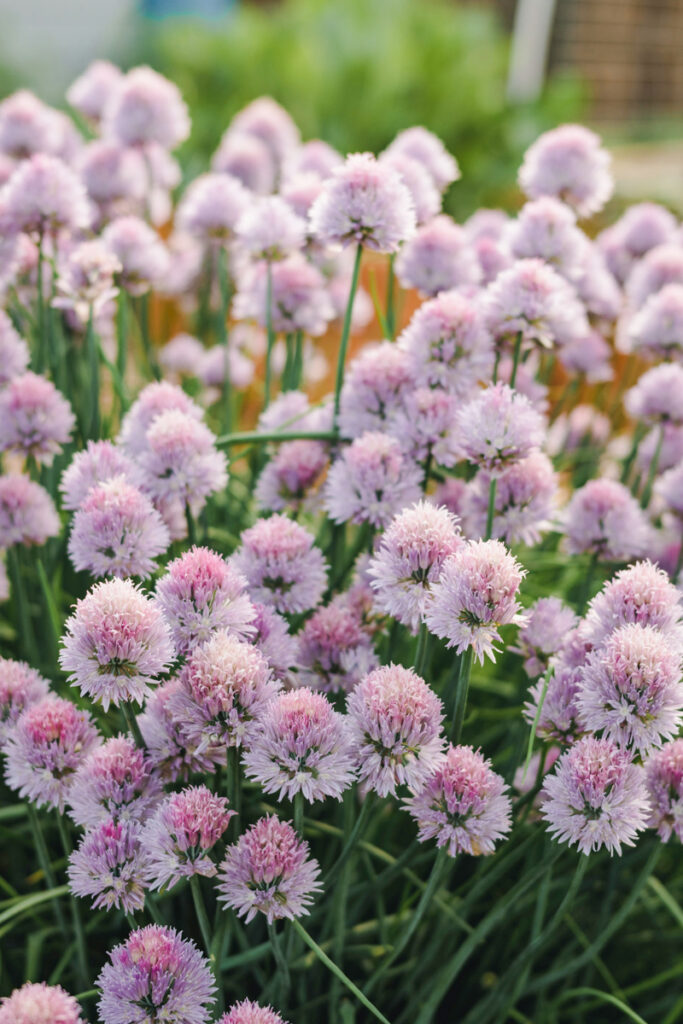
- Onion chives: Also known as common chives, onion chives have a mild onion flavor and are slightly less cold hardy than garlic chives. They grow in clumps, producing blueish-green stems that grow about 12 inches tall. Onion chives typically grow purple flowers, though some varieties send up pink or red blooms, and they bloom in the late spring and early summer. Onion chives are cold hardy down to zone 4.
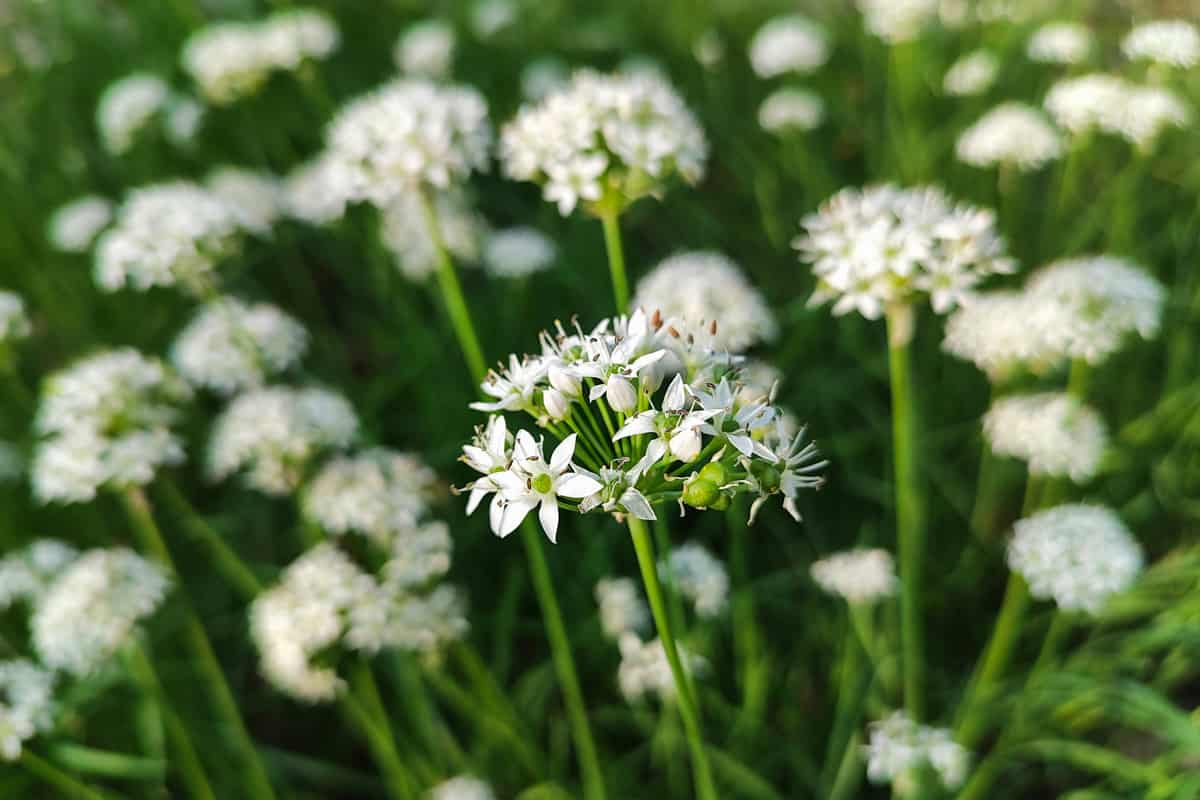
- Garlic chives: Also known as Chinese chives, garlic chives have a stronger, garlic-like flavor. They aren't hollow in the center, but produce long, flat leaves. Starting in the late summer, garlic chives grow white flowers on bright green stems between 15 and 18 inches high. Garlic chives are hardy down to zone 3.
Planting chives
Some chive varieties are recommended to sow directly outdoors, but all chives can be grown from seed indoors with a little patience. Chive seeds can take longer than most to germinate, but sowing indoors is ideal for gardeners with a shorter growing season-- that is, zones 3-6-- as it will give a longer harvest window before the chives go to flower.
This step-by-step covers how to grow chives from seeds indoors and how to sow them directly, either into raised beds or containers:
- Prepare the soil: Mix a seed starting mix with water and spread it into seed plugs or blocks. If you're planting into raised beds or containers, sow seeds directly into a raised bed soil mix.
- Sow seeds ¼" deep: Sprinkle the seeds onto the soil, sowing three seeds per plug or groups of 10 seeds every 8 inches, if sowing in rows. Chive seeds are tiny, so this can be best accomplished by wetting the tip of your finger or the tip of a pencil and placing seeds on the soil individually. Gently press the seeds into place or lightly cover them with soil or vermiculite. This will keep the seeds in place when you water.
- Water thoroughly: Bottom watering the plugs will prevent the tiny seeds from being displaced.
- Place in a sunny spot: If sowing seeds indoors, place the tray in a sunny windowsill so that when seedlings emerge, they'll have the light they need.
- Keep the soil moist: Chives can take a couple of weeks or more to germinate, and the soil should remain moist but not waterlogged during this time. If the sun dries out the soil, bottom water the plugs or tray.
- Wait for germination: Both garlic and onion chives take at least 10-15 days to germinate. If sowing outside, keep the soil covered with a cloche or floating row cover to prevent any disturbance.
- Give them light: If sowing seeds indoors, give the seedlings at least 16 hours of light daily. This can be accomplished by setting them in a south-facing window and by using grow lights placed just a few inches above the soil.
- Thin the seedlings: Once their first sets of leaves (aka seed leaves, or cotyledons) develop, thin to one seedling per plug or one seedling every 4 inches.
- Transplant seedlings: If you sowed into plugs or trays, transplant the seedlings into slightly larger plugs or pots once their first true leaves develop. Seed starting mixes contain no nutrition, so it's important to pot up seedlings into a nutritious standard potting mix or raised bed mix at this stage. You may need to pot them up once more before they're ready to be transplanted into their final location.
- Harden them off: Acclimate your seedlings to life outside by leaving them in a shady spot outside for increasing amounts of time every day. Do this until they're ready to stay outside overnight; this should take about a week. At that point, leave the seedlings in a sheltered spot outside for at least a few days, and as much as a couple of weeks.
- Plant after the last frost: When the threat of frost has passed, plant out chives in small clusters spaced 8-12 inches apart. Water them in well.
Get 9 Free Companion Planting Charts
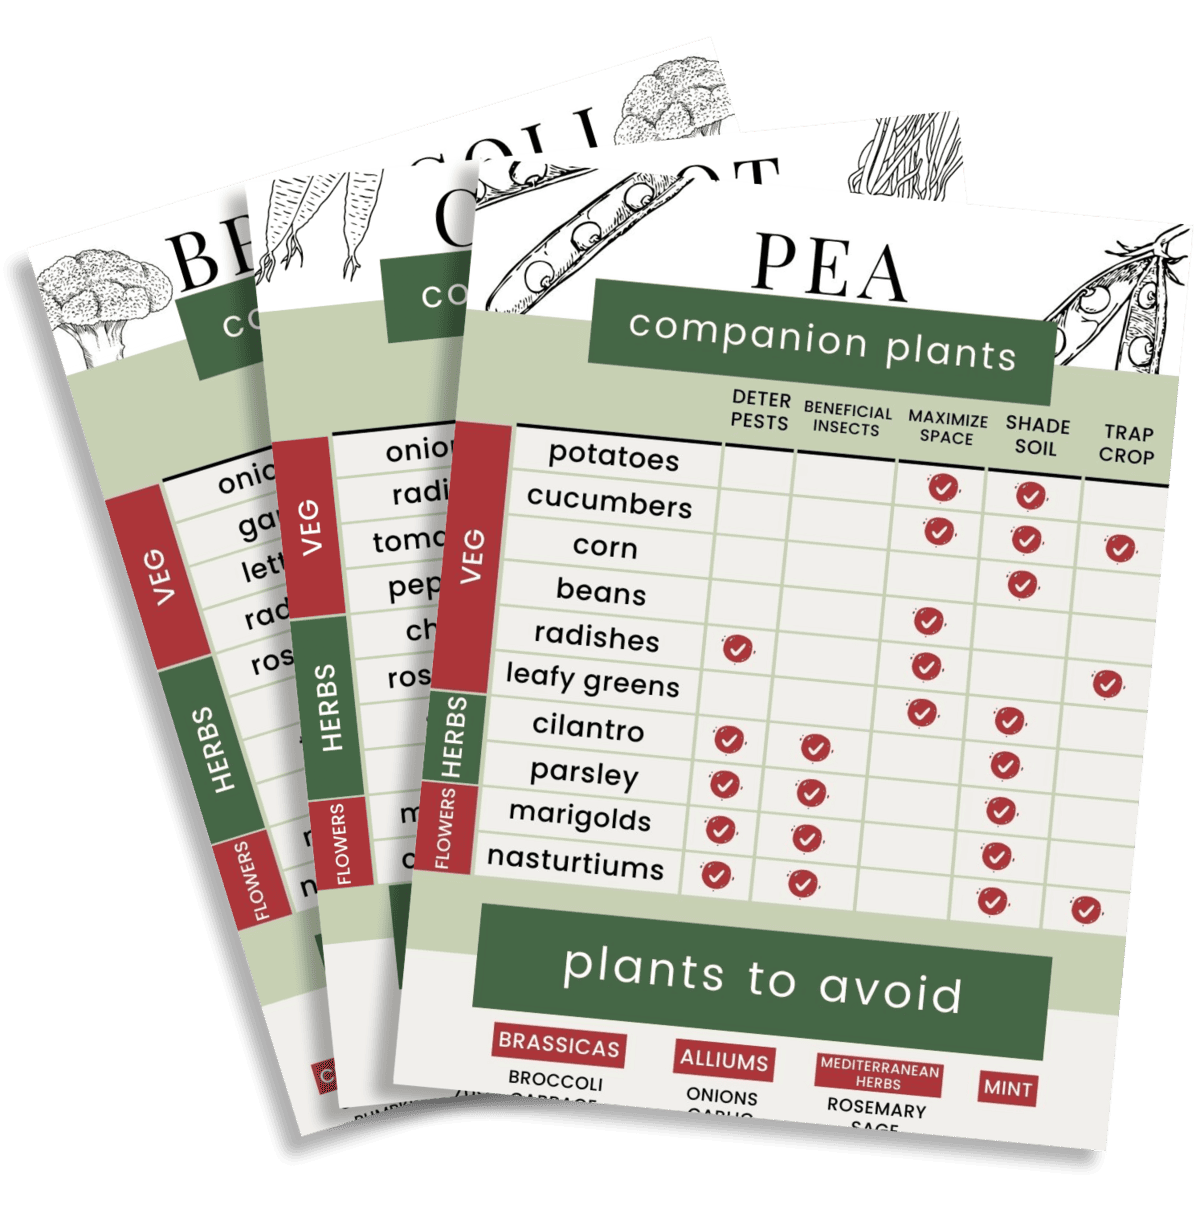
All of the companion planting on Make it Seasonal, consolidated into handy PDFs that you can save to your phone.
Click through to access the whole collection
Growing chives
Once they're established, chives are fairly low maintenance plants. Here's how to care for them throughout the season to ensure an abundant harvest and beautiful display of flowers:
- Water chives regularly in their first few months: Though chives are drought tolerant once they've developed a healthy root system, regular watering in the first couple of months after planting will help reduce transplant shock and keep the plants producing healthy leaves. In subsequent years, water chives during dry spells when the top inch of the soil has dried out to encourage consistent production.
- Mulch lightly: A lightweight mulching of dead leaves or dried out grass clippings will help the soil to retain moisture.
- Don't over-fertilize: Chives should be planted into rich soil that will allow them to grow healthily throughout their first year. If production slows dramatically before the early summer, top dress them with a light fertilizer like homemade compost, compost tea, comfrey tea, or comfrey leaves.
- Deadhead spent flowers: Deadheading chives will prevent them from spreading to other areas of the garden, but it will also encourage the plants to keep producing beautiful blooms well into the summer. To remove the spent flowers, simply cut the stems back to 1-2 inches above the soil line using sharp, sterilized scissors or pruning shears.
- Divide the plants: Every three to four years, divide your chives into smaller clumps and space them out. This will encourage more growth, as the plants won't have so much competition for nutrients. You can easily divide chives by digging out a clump and pulling it apart with your hands, or driving a spade down the center of the root ball.
Plant care
Though chives are low-maintenance once established, they do have particular growing requirements. Meeting these conditions when you plant out your seedlings or starts will give them the best shot at growing a healthy harvest:
- Sun: Chives like full sun, which is 6-8 hours of sun daily, but they can grow well in partial shade. In warmer zones, giving them partial shade in the afternoon can help to extend their harvest slightly into the late spring.
- Soil: Give chives rich, well-draining soil. If you're growing them in pots, a standard potting mix will do. If you're planting them into the ground, clay soil will need to be broken up before planting, and sandy soil will need to be amended with compost.
- Water: Both varieties of chives need moist soil and should be watered regularly as they become established in their first year. Chives grown in pots will need more regular watering.
- Fertilizing: Chives don't typically need to be fertilized in their first year of growth, as long as they're given rich soil. If you notice signs of nutrient deficiency, top dress the plants with compost or a gentle, homemade fertilizer like comfrey tea.
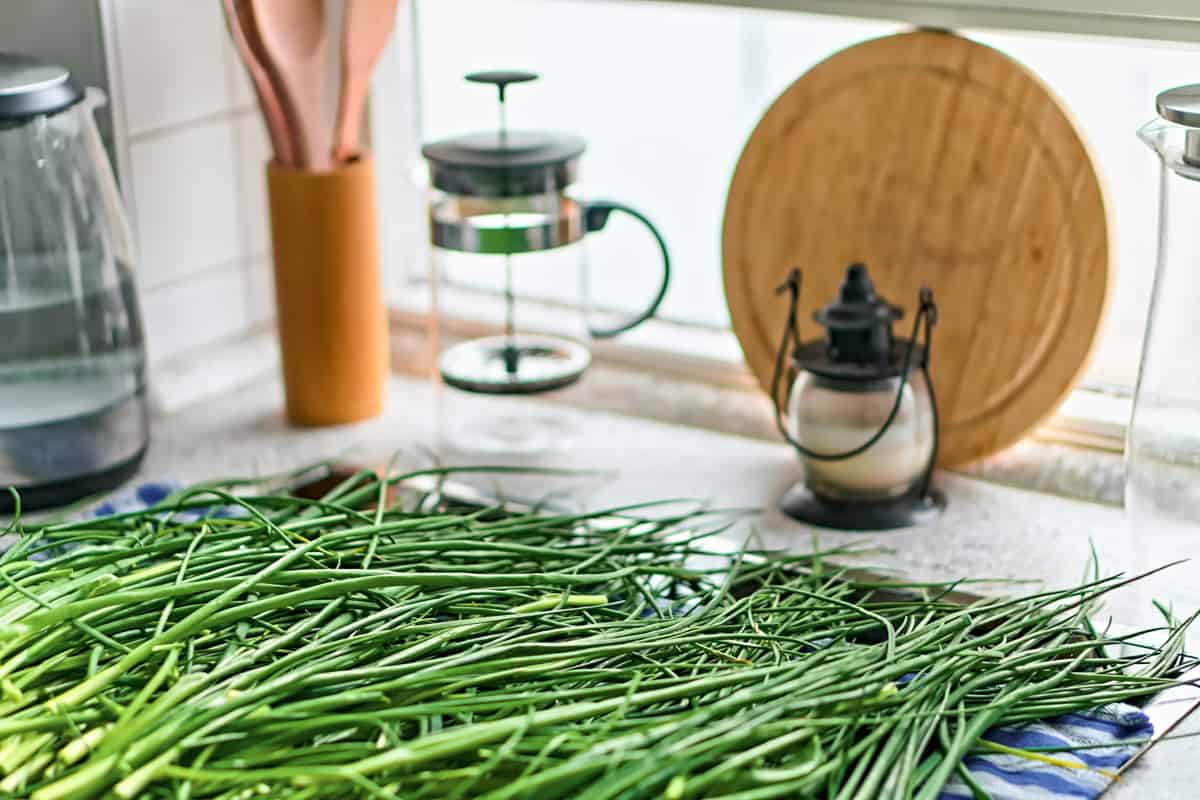
Harvesting chives
Chives are most enjoyable when the leaves are young and tender, so it's best to harvest them so that the plant grows back from the ground up, producing new flushes of young leaves all season long. Here's how to do it:
- Use sharp scissors or pruning shears: Keeping sharp pruners and sterilizing them before use will support the plant in producing healthy new growth.
- Cut ⅓ to ½ of the plant at a time: While you can harvest an entire clump of chives at once, taking half or less of each clump gives you a more steady harvest and is less harsh on the plant.
- Cut down to 1-2 inches above the soil line: This promotes the growth of completely new leaves. Cutting further up the stems would encourage new growth from the existing leaves, which would start to toughen and be less enjoyable to eat.
- Harvest chives 3-4 times per plant: Each clump of chives will reproduce 3-4 times before they go to flower, at which point the leaves thicken and become tough.
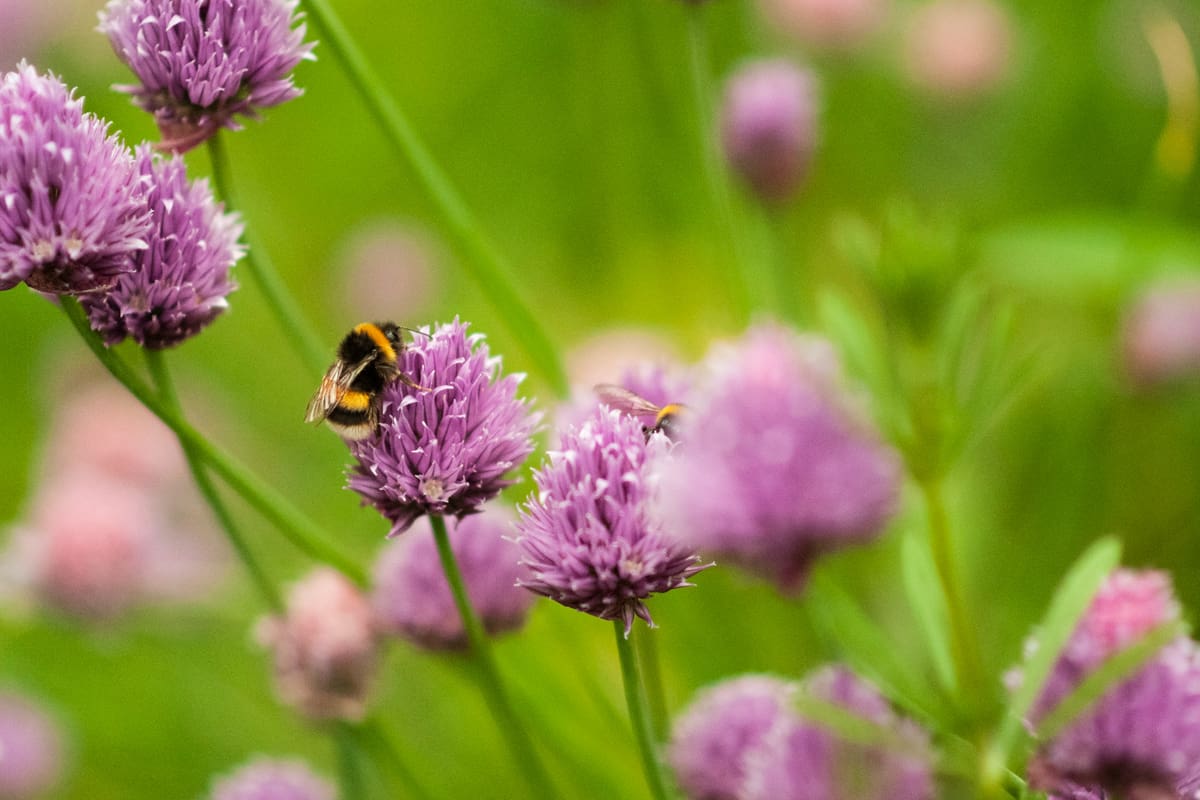
- Harvest the flowers: Chive flowers are edible and taste best when they've just bloomed-- try them on a spring salad! To harvest the blooms, cut the stems to just above the soil line as if you were harvesting the leaves. Onion chives flower in late spring and early summer, while garlic chives won't flower until late summer.
Storing chives
Chives are best enjoyed fresh and in season, but there are a few methods of storing them that will allow you to keep enjoying them for a few weeks or months after the plants have gone to seed.
- Refrigerating: After harvesting chives, wrap them in a damp paper towel and put them in a plastic bag or in the crisper drawer. They'll keep for about a week.
- Freezing: To freeze chives, rinse and chop them before spreading them out onto a lined baking sheet. Store these in the freezer for a couple of hours, allowing them to freeze completely, and then transfer them into an airtight ziplock bag, squeezing as much air out as possible. This works particularly well for onion chives, thanks to their hollow centers. Frozen chives will keep for a few months and don't need to be thawed before use.
- Dehydrating: Dehydrating chives in a dehydrator works well, but drying them in an oven does not-- it depletes their color and flavor.
- Freeze drying: Similar to dehydrating, freeze drying chives is a great option for long-term storage. Freeze dried chives will retain most of their color and flavor and will keep for years.
Common pests and diseases
Chives are not particularly affected by pests. In fact, they're often used as companion plants to help disguise the scents of neighboring vegetables, thus keeping pests at bay. But chives are susceptible to some fungal diseases and occasional damage from insects.
In general, the best way to prevent damage from pests and diseases is to grow strong, healthy plants in a biologically diverse garden. This means not overwatering, over-fertilizing, or planting chives too closely together. It can also mean companion planting with flowers and other herbs that attract insects that prey on chive pests.
In case you do notice your chives struggling, here are a few common issues gardeners run into:
- Damping off: Damping off refers to a fungal disease that kills seedlings. It develops when the soil is kept too moist, and it results in seemingly healthy seedlings dying soon after emerging. Damping off is preventable by not overwatering seedlings and seed plugs.
- Downy mildew: Downy mildew is a common fungal disease that appears as white or grey patches on leaves and affects many plants. Downy mildew thrives in damp conditions with little airflow, so there are a few things you can do to prevent it: water the soil (not the leaves), plant chives in an area with full sun, and don't overcrowd plants.
- Aphids: If you've got little black bugs on your chives, they're likely aphids. Aphids are tiny insects-- they can be white, red, green, or black-- that suck the sap out of stems, ultimately killing the leaves or plant. They don't typically feed on allium family plants, as the strong onion- and garlic-like scents are relatively unappealing to them. If you do see aphids on your chives, spray them off with a quick blast from the hose and check back regularly to ensure they haven't returned. Aphids are attracted to sappy, tender new growth, so you can try to avoid attracting them by not over-fertilizing your chives.
- Thrips: Thrips are tiny, hard-to-spot insects that feed on the bottoms of leaves. Their damage is visible as tiny white or silvery spots on the tops of leaves. Like aphids, you can try to avoid attracting thrips by not over-fertilizing your chives. If you do notice onion thrips on your plants, you can shake them off the leaves and catch them in a cloth placed on top of the soil.
Companion planting
Chives make excellent companion plants for other cool weather herbs and vegetables that share their growing conditions. And because their strong scent can overpower the scent of neighboring plants, chives are excellent for confusing pests. Here are a few garden vegetables and herbs that tend to do well when planted next to chives:
- Carrots: Growing carrots next to chives can help protect them from caterpillars and armyworms. Both plants like consistent moisture and well-draining soil, although carrots do best in relatively poor soil. Take extra care not to over-fertilize this duo.
- Broccoli: Broccoli is susceptible to extensive damage from cabbage white butterflies, but companion planting broccoli and chives together can help to disguise broccoli's scent and protect it from the butterflies.
- Kale: Kale attracts many of the same pests as broccoli and can similarly benefit from being planted next to a row of chives. Like other brassicas, kale grows well in the spring and fall, and will even grow over the winter if given protection.
- Parsley: Parsley and chives grow in the same conditions during the same seasons, so they make excellent companions. Parsley is also a member of the carrot family, so interplanting parsley with chives may help protect it from common carrot pests, as well.
- Cilantro: Growing cilantro and chives side-by-side makes for a fantastically low-maintenance bed of spring herbs. Both plants like full sun, cool weather, and rich, moist soil. Cilantro flowers also attract beneficial insects, including those that prey on chive pests like thrips and aphids.
Read More: The 12 Best Companion Plants for Chives
How long do chives take to grow?
Both garlic chives and onion chives take 60 days to grow. You can start harvesting chives about a month after planting, or two months after sowing seeds. Wait to harvest until the plants are at least 6 inches tall.
Should I cut the flowers off my chives?
Cutting off chive flowers is a good idea if you don't want the plants to spread by seed. Chives will reseed themselves, but they'll still gradually spread by bulb division if you pinch out the flowers. That said, cutting off chive flowers won't extend your harvest. Once the leaves start flowering, they'll continue producing blooms no matter how regularly you pinch out the flowers.
Are chives annuals or perennials?
Chives grow as perennials down to zone 4, and garlic chives can grow as perennials down to zone 3. Chives won't continue to grow over the winter, but they are one of the first garden herbs to re-emerge in the spring.
Can I grow chives indoors?
You can absolutely grow chives indoors if you have a bright, south-facing window or grow lights. Chives placed in a full-sun position indoors will do best, though they won't put on much growth over the winter.
Be mindful that chives grown indoors will need frequent watering and, because they'll be in a smaller container, they may need to be top dressed with compost multiple times over the spring and summer.
Comments
No Comments